Getting Started with Pictory API
Welcome to the Pictory API! This guide will help you get started with creating videos programmatically using our powerful AI-driven video creation platform.
Overview
The Pictory API allows you to:
- Convert text to video with stock visuals or AI-generated visuals
- Transform blog posts into engaging videos
- Create videos from PowerPoint presentations
- Generate video highlights from long-form content
- Add AI voice-overs, subtitles, and branding to your videos
Prerequisites
Before you begin, you'll need:
- A Pictory account
- An active API subscription
- Your API credentials (Client ID and Client Secret)
Step 1: Sign Up and Purchase API Subscription
Create Your Pictory Account
- Visit https://app.pictory.ai and create a free account
- Complete the registration process
Purchase an API Subscription
- Log in to your Pictory account
- Click on your user profile circular button in the top-right corner
- From the dropdown menu, select API Subscription

- Choose a subscription plan that fits your needs
- Complete the purchase process
Step 2: Obtain Your API Credentials
Once you have an active API subscription:
- Navigate to the API Subscription page (if not already there)
- Your API credentials will be displayed on this page
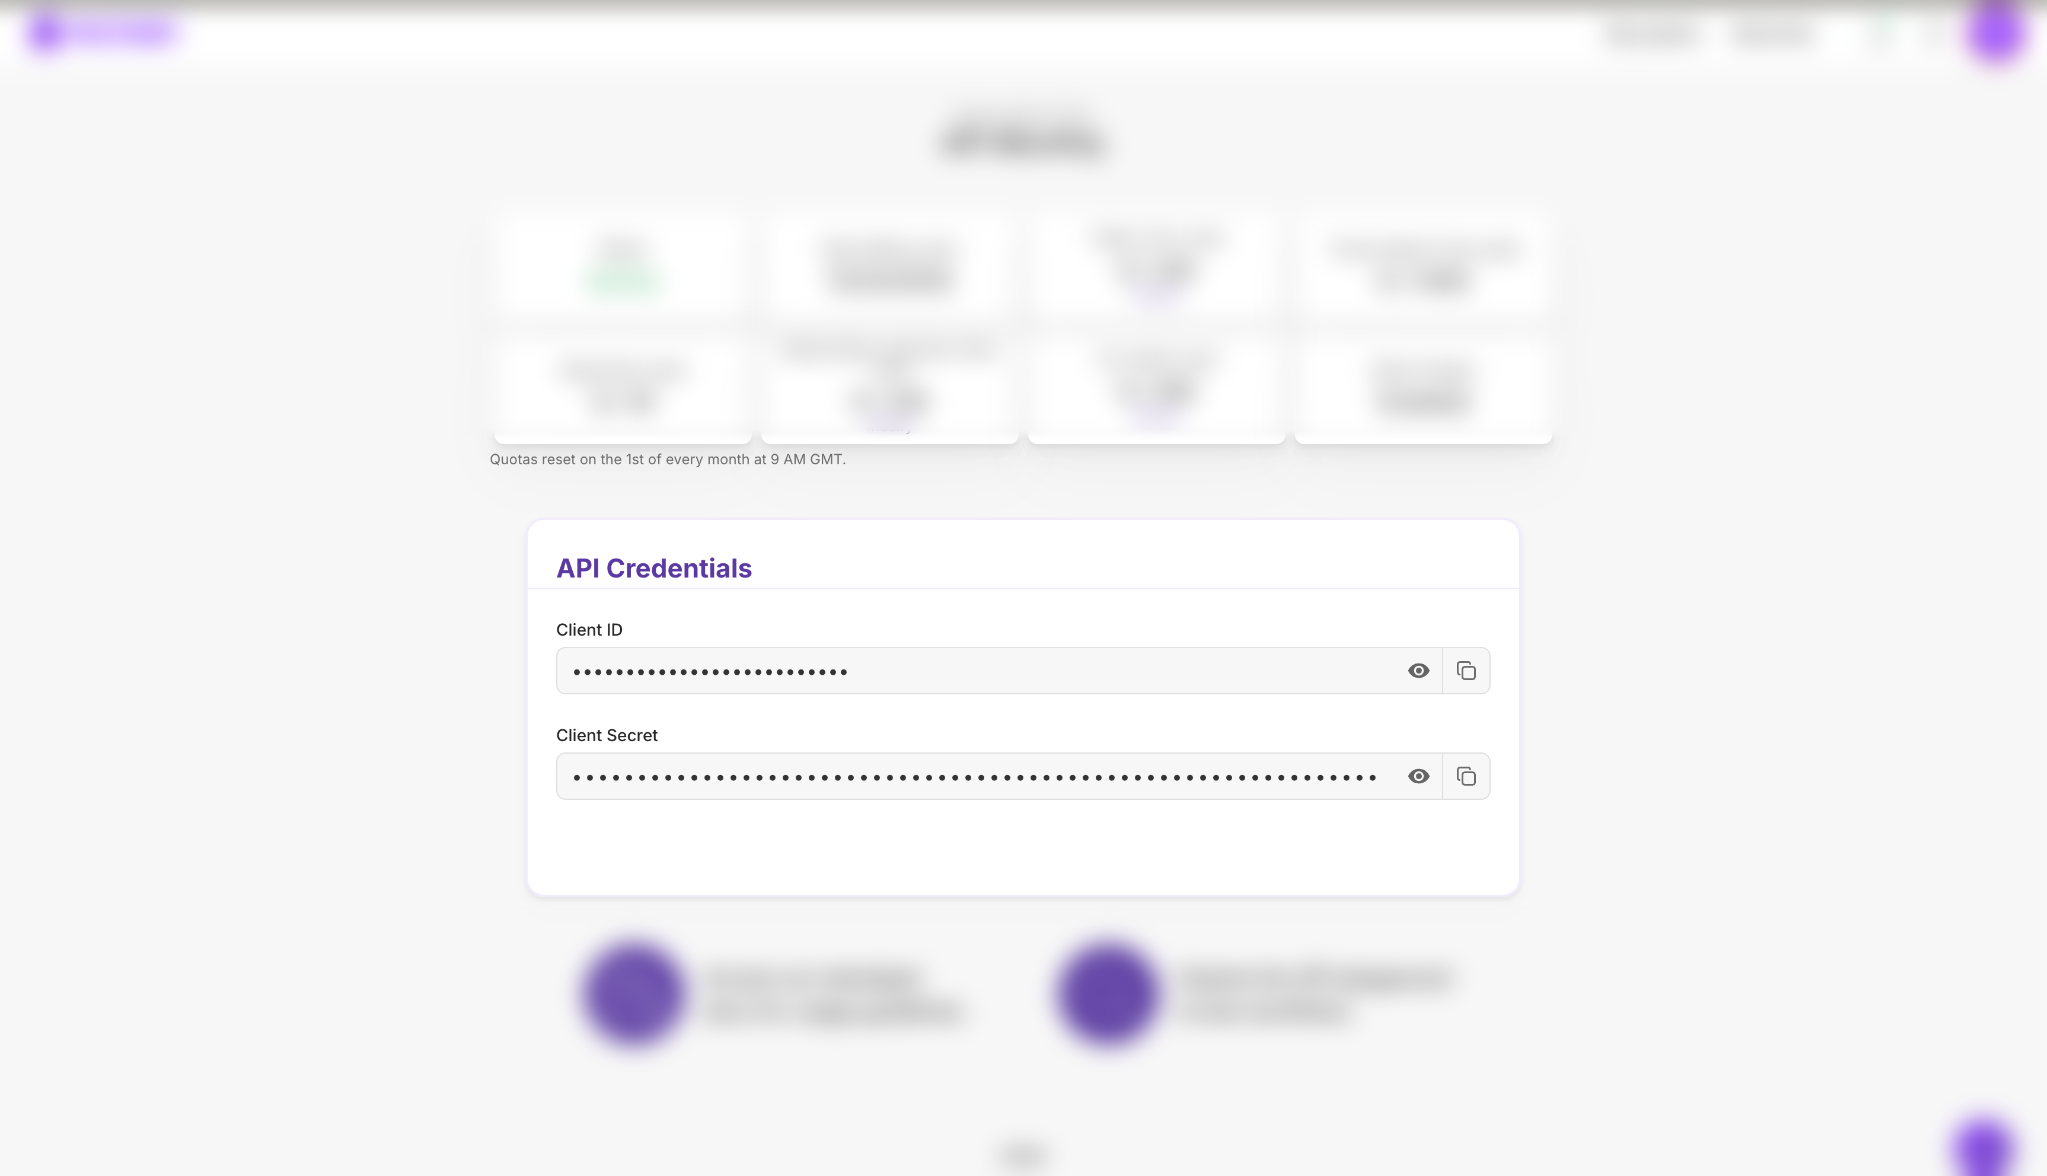
You will need two credentials to use the API:
- Client ID: Your unique client identifier
- Client Secret: Your secret key (keep this secure!)
Important: Keep your Client Secret confidential. Never share it or commit it to version control.
Step 3: Authentication
Before making any API requests, you need to obtain an access token. The access token is used to authenticate all subsequent API calls.
Authentication Endpoint
POST https://api.pictory.ai/pictoryapis/v1/oauth2/tokenNode.js Authentication Example
import axios from 'axios';

const API_BASE_URL = 'https://api.pictory.ai/pictoryapis';
const CLIENT_ID = 'YOUR_CLIENT_ID';
const CLIENT_SECRET = 'YOUR_CLIENT_SECRET';

async function getAccessToken() {
  try {
    const response = await axios.post(
      `${API_BASE_URL}/v1/oauth2/token`,
      {
        client_id: CLIENT_ID,
        client_secret: CLIENT_SECRET
      },
      {
        headers: {
          'Content-Type': 'application/json'
        }
      }
    );

    const accessToken = response.data.access_token;
    const expiresIn = response.data.expires_in;

    console.log('Access Token:', accessToken);
    console.log('Expires In:', expiresIn, 'seconds');

    return accessToken;
  } catch (error) {
    console.error('Authentication Error:', error.response?.data || error.message);
    throw error;
  }
}

// Get access token
const token = await getAccessToken();
Python Authentication Example
import requests

API_BASE_URL = 'https://api.pictory.ai/pictoryapis'
CLIENT_ID = 'YOUR_CLIENT_ID'
CLIENT_SECRET = 'YOUR_CLIENT_SECRET'

def get_access_token():
    try:
        response = requests.post(
            f'{API_BASE_URL}/v1/oauth2/token',
            json={
                'client_id': CLIENT_ID,
                'client_secret': CLIENT_SECRET
            },
            headers={
                'Content-Type': 'application/json'
            }
        )
        response.raise_for_status()

        data = response.json()
        access_token = data['access_token']
        expires_in = data['expires_in']

        print(f'Access Token: {access_token}')
        print(f'Expires In: {expires_in} seconds')

        return access_token
    except requests.exceptions.RequestException as error:
        print(f'Authentication Error: {error}')
        raise

# Get access token
token = get_access_token()
Authentication Response
A successful authentication request returns:
{
  "access_token": "eyJhbGciOiJIUzI1NiIsInR5cCI6IkpXVCJ9...",
  "token_type": "Bearer",
  "expires_in": 3600
}- access_token: Use this token in the
Authorizationheader for all API requests - token_type: Always "Bearer"
- expires_in: Token validity duration in seconds (typically 3600 seconds / 1 hour)
Important: Access tokens expire after the specified duration. You'll need to request a new token when the current one expires.
Step 4: Create Your First Video
Now that you have an access token, let's create your first video from text!
Complete Example: Text to Video
Node.js
import axios from 'axios';

const API_BASE_URL = 'https://api.pictory.ai/pictoryapis';
const CLIENT_ID = 'YOUR_CLIENT_ID';
const CLIENT_SECRET = 'YOUR_CLIENT_SECRET';

async function createTextToVideo() {
  try {
    // Step 1: Get Access Token
    console.log('Step 1: Getting access token...');
    const tokenResponse = await axios.post(
      `${API_BASE_URL}/v1/oauth2/token`,
      {
        client_id: CLIENT_ID,
        client_secret: CLIENT_SECRET
      },
      {
        headers: {
          'Content-Type': 'application/json'
        }
      }
    );

    const accessToken = tokenResponse.data.access_token;
    console.log('Access token obtained successfully\n');

    // Step 2: Create and Render Video
    console.log('Step 2: Creating video...');
    const videoResponse = await axios.post(
      `${API_BASE_URL}/v2/video/storyboard/render`,
      {
        videoName: 'my_first_video',
        scenes: [
          {
            story: 'Welcome to Pictory API! Create amazing videos with just a few lines of code.',
            createSceneOnNewLine: true,
            createSceneOnEndOfSentence: true
          }
        ]
      },
      {
        headers: {
          'Content-Type': 'application/json',
          'Authorization': accessToken
        }
      }
    );

    const jobId = videoResponse.data.data.jobId;
    console.log('Video job created. Job ID:', jobId, '\n');

    // Step 3: Monitor Job Status
    console.log('Step 3: Monitoring job status...');
    let completed = false;

    while (!completed) {
      const statusResponse = await axios.get(
        `${API_BASE_URL}/v1/jobs/${jobId}`,
        {
          headers: {
            'Authorization': accessToken
          }
        }
      );

      const status = statusResponse.data.data.status;
      console.log('Status:', status);

      if (status === 'completed') {
        completed = true;
        console.log('\nVideo created successfully!');
        console.log('Video URL:', statusResponse.data.data.videoUrl);
        return statusResponse.data;
      } else if (status === 'failed') {
        throw new Error('Video creation failed');
      }

      // Wait 5 seconds before checking again
      await new Promise(resolve => setTimeout(resolve, 5000));
    }
  } catch (error) {
    console.error('Error:', error.response?.data || error.message);
    throw error;
  }
}

// Run the function
createTextToVideo();
Python
import requests
import time

API_BASE_URL = 'https://api.pictory.ai/pictoryapis'
CLIENT_ID = 'YOUR_CLIENT_ID'
CLIENT_SECRET = 'YOUR_CLIENT_SECRET'

def create_text_to_video():
    try:
        # Step 1: Get Access Token
        print('Step 1: Getting access token...')
        token_response = requests.post(
            f'{API_BASE_URL}/v1/oauth2/token',
            json={
                'client_id': CLIENT_ID,
                'client_secret': CLIENT_SECRET
            },
            headers={
                'Content-Type': 'application/json'
            }
        )
        token_response.raise_for_status()

        access_token = token_response.json()['access_token']
        print('Access token obtained successfully\n')

        # Step 2: Create and Render Video
        print('Step 2: Creating video...')
        video_response = requests.post(
            f'{API_BASE_URL}/v2/video/storyboard/render',
            json={
                'videoName': 'my_first_video',
                'scenes': [
                    {
                        'story': 'Welcome to Pictory API! Create amazing videos with just a few lines of code.',
                        'createSceneOnNewLine': True,
                        'createSceneOnEndOfSentence': True
                    }
                ]
            },
            headers={
                'Content-Type': 'application/json',
                'Authorization': access_token
            }
        )
        video_response.raise_for_status()

        job_id = video_response.json()['data']['jobId']
        print(f'Video job created. Job ID: {job_id}\n')

        # Step 3: Monitor Job Status
        print('Step 3: Monitoring job status...')
        completed = False

        while not completed:
            status_response = requests.get(
                f'{API_BASE_URL}/v1/jobs/{job_id}',
                headers={
                    'Authorization': access_token
                }
            )
            status_response.raise_for_status()

            status = status_response.json()['data']['status']
            print(f'Status: {status}')

            if status == 'completed':
                completed = True
                print('\nVideo created successfully!')
                print(f"Video URL: {status_response.json()['data']['videoUrl']}")
                return status_response.json()
            elif status == 'failed':
                raise Exception('Video creation failed')

            # Wait 5 seconds before checking again
            time.sleep(5)

    except requests.exceptions.RequestException as error:
        print(f'Error: {error}')
        raise

# Run the function
if __name__ == '__main__':
    create_text_to_video()
How It Works
- Authentication: First, we get an access token using your Client ID and Secret
- Create Video: We send a request to create a video with your text content
- Get Job ID: The API returns a job ID that tracks your video creation
- Monitor Progress: We poll the job status endpoint until the video is ready
- Get Video: Once completed, we receive the URL to download or view your video
Step 5: Understanding the Workflow
API Request Flow
1. Get Access Token
   POST /v1/oauth2/token
   ↓
2. Create Video Job
   POST /v2/video/storyboard/render
   ↓
3. Receive Job ID
   ↓
4. Poll Job Status
   GET /v1/jobs/{jobId}
   ↓
5. Get Video URL (when status = completed)
Job Statuses
- in-progress: Video is being created
- completed: Video is ready, URL is available
- failed: Video creation failed
Next Steps
Now that you've created your first video, explore more features:
Advanced Features
- Add AI Voice-Over: Give your videos professional narration
- Custom Branding: Add logos, custom fonts, and brand colors
- Background Music: Enhance videos with audio tracks
- Multiple Input Types: Use blog URLs, PowerPoint files, or audio files
- Video Editing: Create highlights from long videos
- Subtitle Customization: Control subtitle styles and positioning
API Reference
For complete API documentation, including all available endpoints, parameters, and response formats, refer to the full API reference documentation.
Best Practices
- Secure Your Credentials: Never expose your Client Secret in client-side code or public repositories
- Token Management: Implement token refresh logic when tokens expire
- Error Handling: Always handle API errors gracefully
- Rate Limiting: Be mindful of API rate limits in your subscription plan
- Job Monitoring: Implement appropriate polling intervals (5-10 seconds recommended)
Updated about 1 month ago