What You Can Do
Text to Video
Turn written content into engaging videos with visuals
Blog to Video
Transform blog articles into video content automatically
PowerPoint to Video
Convert presentations into shareable videos
Video Highlights
Extract short clips from long videos
AI Voice-Overs
Add natural-sounding narration to your videos
Subtitles & Captions
Generate and customize subtitles in multiple languages
Branding
Maintain consistent brand styling across all your videos
Integrations
Auto-upload to AWS S3, Vimeo, and more
What You Need
1
A Pictory Account
Sign up for free at app.pictory.ai if you do not have one
2
An API Subscription
Choose a plan that fits your usage from the API Subscription page
3
Your API Key
Your unique authentication credential for API access. Details below
Step 1: Create Your Account & Subscribe
Follow these steps to set up your account:- Get started by creating a free account at Pictory
- Click on your profile picture in the top-right corner
- Select API Subscription from the menu
- Choose a plan based on how many videos you plan to create per month
- Complete the purchase to activate your API access

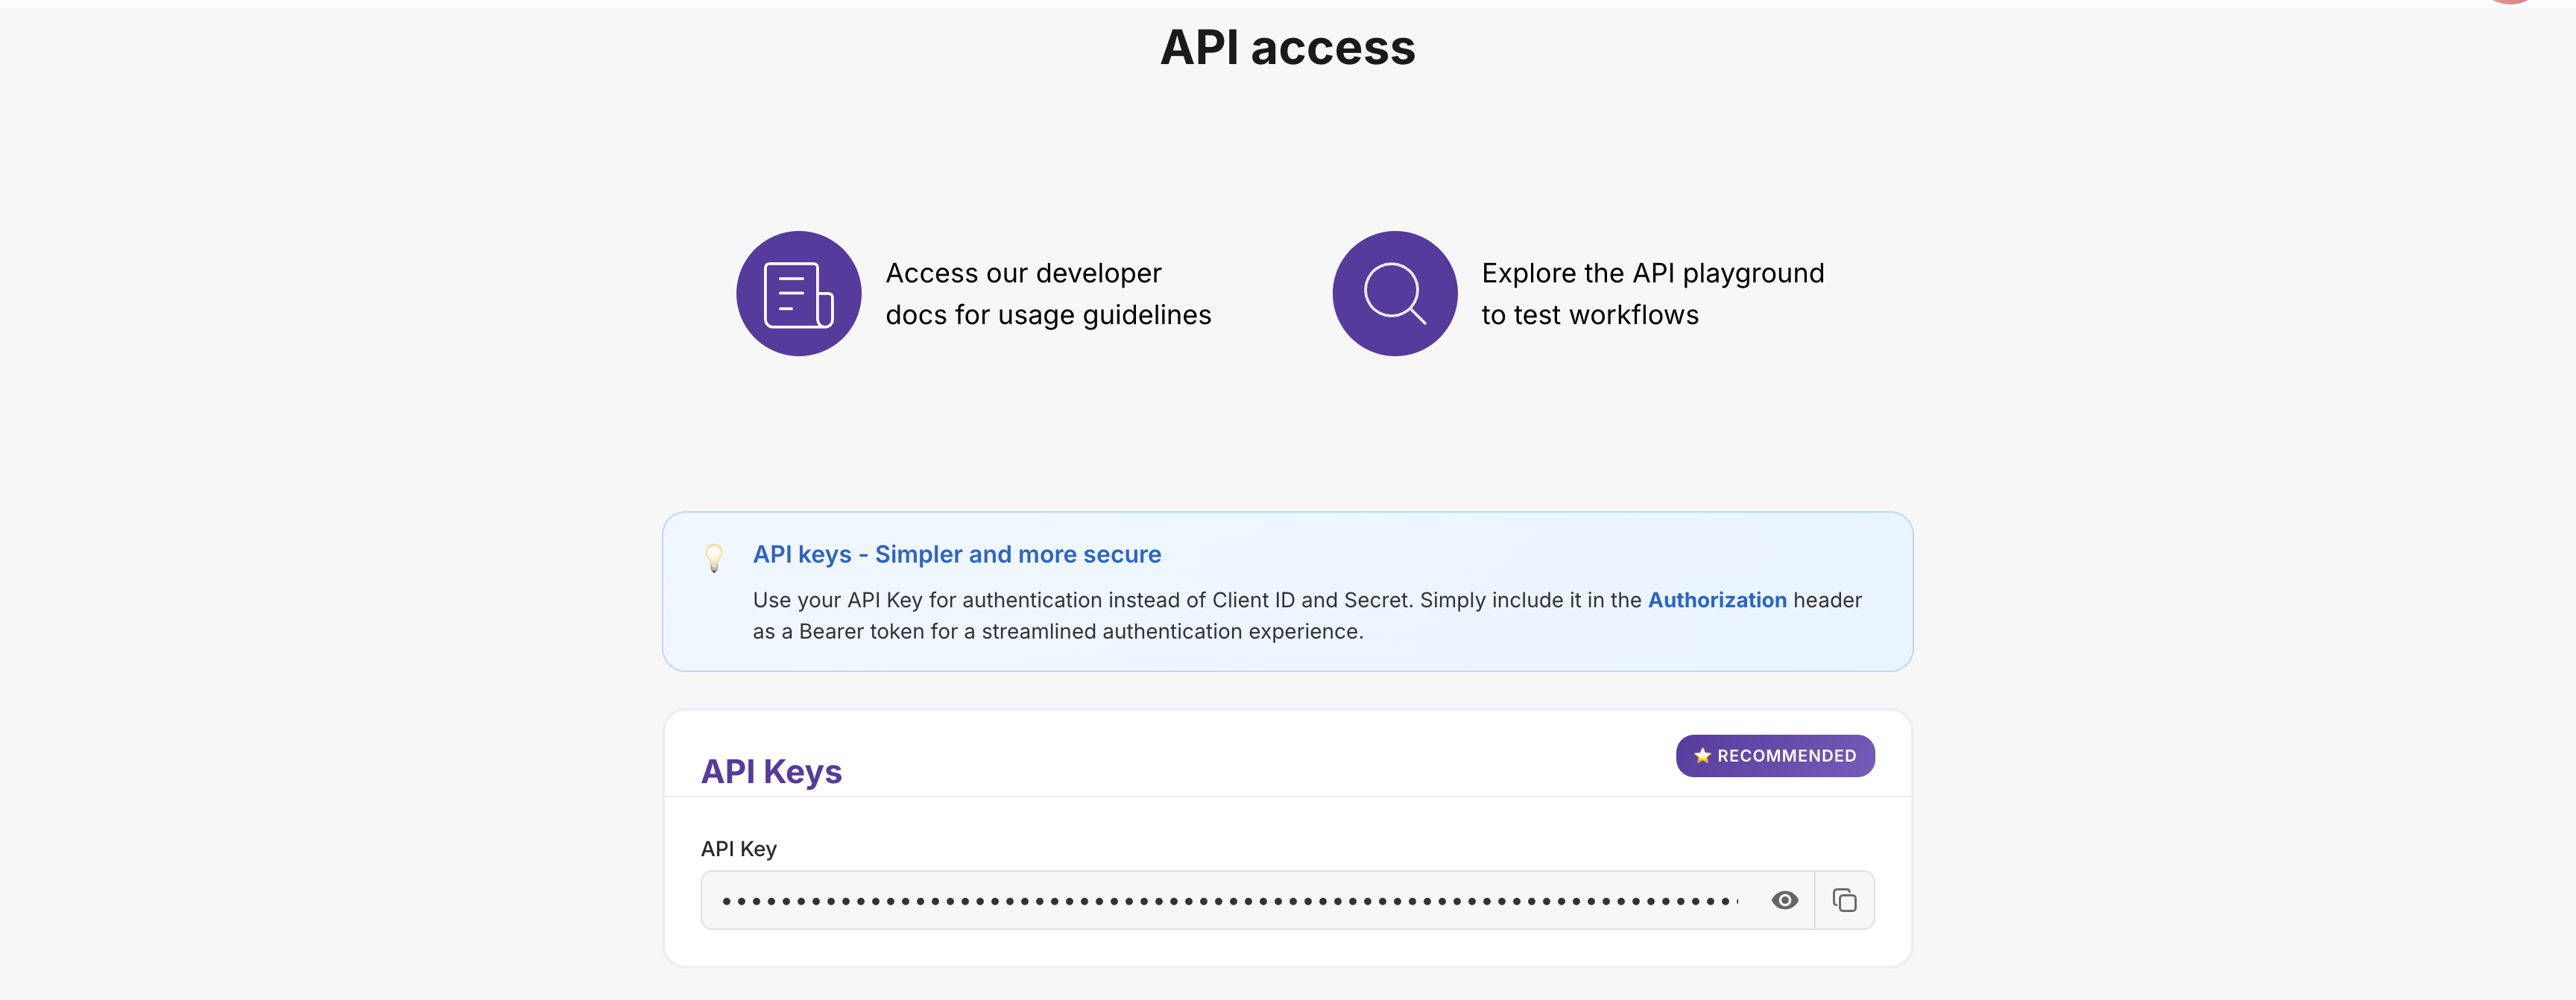
Step 2: Get Your API Key
Once you have an active subscription, you can find your API Key:- Go to the API Subscription page in your Pictory account
- Your API Key will be displayed on this page
- Click the Copy button to copy it to your clipboard
- Save it securely; you need it for every API request
Step 3: Make Your First API Call
The following example demonstrates creating a video from text content:- Include your API Key in the
Authorizationrequest header for authentication - Specify a video name and provide the text content
- Receive a job ID: the API returns this immediately for tracking the asynchronous rendering process
Step 4: Check When Your Video is Ready
Since video rendering is asynchronous, poll the job status endpoint to determine when your video is ready:- Use the job ID from Step 3 to query the current status
- Poll the status endpoint every 10–30 seconds until rendering completes
- When status is
completed: the response will include your video download URL
Tip: Poll the status endpoint every 10–30 seconds. Polling too frequently may trigger rate limiting.
Best Practices
Follow these recommendations to use the API securely and efficiently:Keep Your API Key Safe
- Use environment variables: Never hardcode your key directly in source code
- Never commit to Git: Add your key file to
.gitignore - Use server-side code only: Never expose your key in client-side applications
- Regenerate if compromised: Generate a new key immediately if you suspect unauthorized access
Handle Errors Gracefully
- Use try-catch blocks: Wrap API calls to handle failures without crashing your application
- Implement exponential backoff: On failure, retry with increasing delays (2s, 4s, 8s)
- Persist job IDs: Store job IDs for status tracking and debugging
- Validate inputs: Ensure all required fields are populated before making API calls
Optimize Performance
- Poll at appropriate intervals: Check job status every 10–30 seconds to avoid rate limiting
- Cache responses: Store frequently accessed data locally to reduce redundant API calls
- Batch operations: When creating multiple videos, process them concurrently rather than sequentially
Troubleshooting Common Issues
Below are common issues and their solutions:400 Bad Request - 'Invalid voice'
400 Bad Request - 'Invalid voice'
Cause: The specified voice name does not exist or is incorrectly formatted.Resolution:
- Voice names are case-sensitive:
"Brian"is valid,"brian"is not - Refer to the complete list of available voices
- Ensure the voice name matches exactly as documented
400 Bad Request - 'Missing or invalid parameter'
400 Bad Request - 'Missing or invalid parameter'
Cause: A required field is missing or a parameter has an incorrect data type.Resolution:
- Review the API documentation for required fields
- Ensure correct data types: strings in quotes, numbers without, booleans as
true/false - Verify field name casing, e.g.,
videoNamenotVideoName
429 Too Many Requests - 'Rate limit exceeded'
429 Too Many Requests - 'Rate limit exceeded'
Cause: API call frequency has exceeded the allowed rate.Resolution:
- Increase the interval between status checks to 10–30 seconds
- Implement exponential backoff: wait 2s, then 4s, then 8s between retries
- Review your subscription limits and upgrade if necessary
Video stuck at 'in-progress' status
Video stuck at 'in-progress' status
Cause: The video is still rendering, or the job may have stalled.Resolution:
- Allow sufficient time: videos typically take 5–15 minutes depending on length
- Continue polling every 10–30 seconds
- If the status has not changed after 30 minutes, contact support with your job ID
Build Faster with an LLM
Claude Skills: no code required
Install the Pictory Text-to-Video skill in Claude Code and create finished videos by describing them in plain English. Script, design, render, and video link are handled for you.
Use Pictory with an LLM
Hand the entire Pictory API to Claude, ChatGPT, Cursor, or Windsurf in one shot, via
llms-full.txt, the OpenAPI spec, or the Pictory MCP server. Includes a recommended system prompt and example natural-language → API-call mappings.- Full docs for LLMs: https://docs.pictory.ai/llms-full.txt
- OpenAPI spec: https://docs.pictory.ai/openapi.json
- End-to-end recipes: Common use cases with ready-to-run payloads
Next Steps
Now that you are familiar with the fundamentals, explore these resources to build more advanced integrations:Popular Guides
Text to Video
Learn how to turn any text into an engaging video
Add AI Voice-Over
Add natural-sounding AI narration to your videos
Blog to Video
Transform your blog posts into shareable videos
Add Your Branding
Apply your logo, colors, and fonts automatically
API Reference
For complete technical details, refer to the API documentation:Video Creation
Complete reference for creating videos
Track Your Jobs
Monitor all your video creation jobs
Styles & Branding
Manage subtitle styles and brand presets
Integrations
Auto-upload to AWS S3 and Vimeo
Need Help?
Community Forum
Ask questions and connect with other developers
Contact Support
Get direct help from our support team
Stay Connected
Join our community and stay updated with the latest features, tips, and announcements:X (Twitter)
Get real-time updates, tips, and product announcements
Professional insights, company news, and industry trends
Visual inspiration, video tips, and creative content
YouTube
Video tutorials, feature demos, and how-to guides
Join 20,000+ creators sharing tips and success stories
Join our Reddit community for discussions and updates
Discord
Chat with developers, get quick help, and share feedback